
Hi. I'm back with another long post and this time it's because of the number of pictures in it. There was a Vacation mini book that I worked on last year that I never shared.
 I just wanted to share something that helps me in getting long projects done. It's not like I know a lot or have a lesson to offer, I'm learning myself, but it's when I find something that works for me, I feel like I need to share with others. The irony is that the item I based this post on is not even finished to the end. Yeah... But this is the one of quite a few that got almost done.
I was listening to one of the PRT episodes when they discussed a similar theme, and one of the PRT members, I think it was Angie Lucas who said that the key in finishing one of those longer projects is having a FORMULA or a detailed plan, and I can't agree more with her.
So, back in the summer, just a week after out trip to Florida, I decided to make a mini book about it and I started with a formula for the album. I took my toddler to the park, and while she was enjoying swings and slides, I was writing out that formula. To be honest, it made the entire process SO MUCH easier. Basically if you decide on a few things like:
1. Theme of the project.
2. Size and type.
3. Colors.
4. Design.
5. Journaling.
You are good to go. I knew I wanted something very simple. I've seen a couple of Amy Tan's mini books and wanted to have mine done in a similar way. What helped me is deciding that all of my pages will be the same size. I never had to think about that again. Eliminating colors was a huge thing too. I decided to have browns and creams for all of my background pages and it saved tons of time. Knowing the theme, made it so much easier to decide on pictures I needed to print. And having a design in mind helped a lot too.
On a design I went a one step further, which required just one more trip to the park. I grabbed a notebook and a pen, and sketched out about forty page layouts. Then I went ahead, and labeled which design will work with what pictures. All I had to do now, is order pictures accordingly.

And now was the fun part of putting the whole thing together. One thing I wish I included in the plan is journaling. This trip had so many great stories and memories that were fresh in my mind when I just started working on the album. I wish I had printed journaling before even my pictures came... but that's the part I missed on and still haven't done. Well, since my printer is out of order right now, I have an excuse to post an album without journaling.
Here's an album in detail:
 ... cover front and back.
 ... first page. I used stamps for front and back of the inner part of covers.

 ... you'll see some white spaces that were left for journaling. I guess I did have it somehow in the plan.
 ... I've included a few brochures that I picked up along the way.
 ... that tab is sticking out because we actually bought something at that store. Someday, there might be a story about that.
 ... added a picture to the back side of the brochure.
 ... tags and stamps are repeated elements throughout the book.

 ... pop up tag at the top of the page here.
 ... cover front and back.
 ... first page. I used stamps for front and back of the inner part of covers.
 ... you'll see some white spaces that were left for journaling. I guess I did have it somehow in the plan.
 ... I've included a few brochures that I picked up along the way.
 ... that tab is sticking out because we actually bought something at that store. Someday, there might be a story about that.
 ... added a picture to the back side of the brochure.
 ... tags and stamps are repeated elements throughout the book.
 ... pop up tag at the top of the page here.

 ... another brochure here.
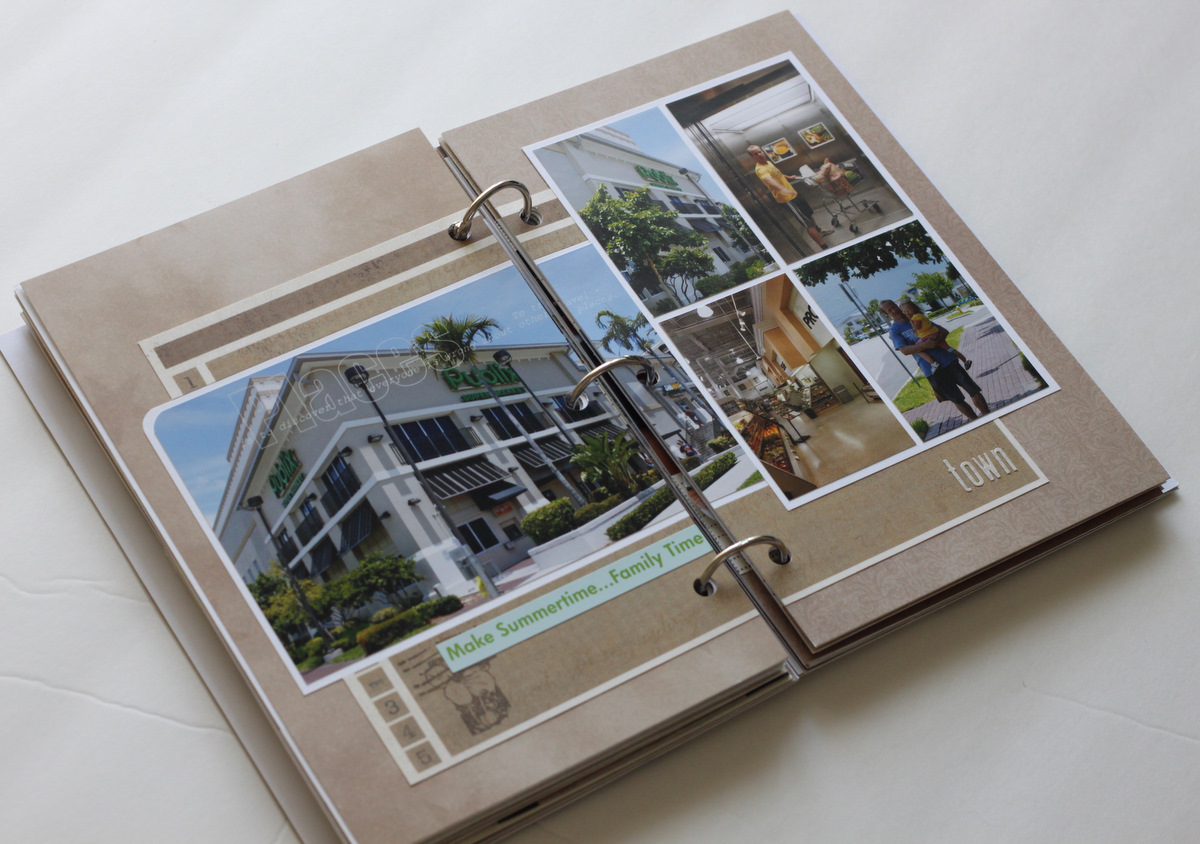


 ... and a few more pop up pictures on this page.
 ... more white space for journaling left at the top.

 ... last page.
 And this picture shows how big full the album looks. I didn't take the pictures of a couple of pages that were either not finished or too dark for the photo.
If you've visited me during month of December, you've probably noticed that my DD also had it's own formula. The base of all of my pages was white, which took away the guessing part of what paper should I start with. And I had previously chosen some red and cream papers that were repeated throughout the entire album.
I hope you start with a formula on your next mini book project of you didn't before. If you have any questions regarding the mini book, I would be happy to answer any of them.
Than you so much for stopping by and have a wonderful day.
Anya very nice project! I love the colors chosen for this mini book, very relaxing. Next time I will try to start my project with the formula. Thank you for suggestions.
ОтветитьУдалитьI really wish I could be there wright now, beautiful, warm and relaxing place. Just what I need!!!
Как хорошо что на отдых вместе ездили, так ты сделала альбом и мне тоже есть что вспомнить. А тем более таким составом как ездили было просто чудестно. Нужно ещё!
Незнаю что там у тебя незакончено, очень красивые странички.
ОтветитьУдалитьЧем больше просматриваю тем больше нравится
Totally agree with the commenter above me… very beautiful mini book! And the theme colors are great! I love the pictures, and lay outs, everything is really nice… but… where is our surprise visit picture/journaling?! :-(
ОтветитьУдалитьI need to make a book on “OUR” experience in detail how many little things we actually had to do, pull off to trick all of you people to give you a surprise!!
Anyway, we also had an awesome time, and agree again with the commenter above me.. it needs to be repeated!!! ;)
wonderful! i want to make something like this, too, but i have to travel first ;-)
ОтветитьУдалитьThank you everyone! Thank you sisters for being a part of that experience... Ira, as I said in the post - this trip had some fun stories, but all I have right now are just some empty spots...
ОтветитьУдалитьYes, let's all travel more and make more memories!
NIce album with really great advice! It makes it so much easier when there's a plan, especially color wise.
ОтветитьУдалить